Layered Loot: Badges, Currency and Finale Drops
Drag Drive Simulator event rewards sit on a layered loot table: cosmetic badges, event-specific currency, anomaly crates, and the rare finale drops that drop only when you clear a boss-tier encounter. According to the Drag Drive Simulator Roblox page, the title from ADV Gamers Team runs a constant rotation of Indonesian-inspired seasonal events (Independence, Ramadan, Eid Adha, Halloween, Winter, New Year), and each one ships its own quest chain, badge track, and finale encounter. The loop is short: complete daily and weekly event quests, bank the Event Tokens they pay out, then spend those tokens at the event vendor to roll for cosmetic crates, or save them to unlock the Event Finale Ticket that gates the boss encounter.
Every event in DDS follows the same three-act structure. The first act is a free farm zone where nearly any player can grind tokens by completing drive-by objectives, drag-race time trials, or NPC delivery tasks. The second act unlocks once you bank enough tokens to purchase the Badge Track Pass, a paid token sink that boosts your drop rate on the cosmetic reward table. The third act is the finale: a staged boss fight that drops the headline loot (title vehicles, halo body kits, and the seasonal Crown of Merdeka or its equivalent). Community testing reported by players on YouTube guides such as the Independence / Merdeka Event 2026 Full Quest Tutorial confirms the finale is the only source of those limited cosmetics, which is why every serious farmer treats the badge track as mandatory rather than optional.
| Reward Tier | Source | Rarity | Resets |
|---|---|---|---|
| Event Tokens | Daily / weekly event quests | Common | Per event |
| Event Badge | Badge Track milestones | Uncommon | Per event |
| Anomaly Crate | Vendor rolls with tokens | Rare | Per event |
| Finale Drop | Event boss clear | Legendary | One-time per event |
| Halo Cosmetic | Finale flawless clear | Mythic | One-time per event |
The point of the layered table is to give casual players a reason to log in daily (token grind) while keeping the headline loot gated behind a real boss fight. Most players clear the badge track in three to five focused sessions, then spend the rest of the event farming tokens for the vendor's cosmetic crate lottery.
Reading the Drag Drive Simulator Event Badge System
The Drag Drive Simulator event badge is more than a profile flair: it doubles as a progression key that unlocks the vendor's premium tier. Every event ships five badge tiers (Bronze, Silver, Gold, Platinum, Crown), and each tier requires a specific quest count plus a token threshold. Once you hit Gold Badge, the vendor's drop rate on the Anomaly Crate jumps from roughly 8% to about 18%, according to community-reported drop data compiled from the ADV Gamers Team community group. Hitting Crown Badge is what unlocks the Finale Ticket for the boss encounter.
| Badge Tier | Quests Required | Tokens Required | Vendor Boost |
|---|---|---|---|
| Bronze | 5 | 500 | None |
| Silver | 12 | 1,500 | +5% crate rate |
| Gold | 22 | 3,500 | +10% crate rate |
| Platinum | 35 | 6,000 | +15% crate rate |
| Crown | 50 | 10,000 | Finale Ticket unlock |
Most players who log in twice a day and clear the daily quest block (three to five quests per day) hit Silver inside the first week of an event. Gold and Platinum require grinding the harder weekly quests, which usually involve crew coordination or specific vehicle classes. Crown is the long-game target: it requires grinding the full 50-quest track plus a 10,000-token bank, and most players report spending the entire event window chasing it. Because the finale is the only path to the Halo Cosmetic, the Crown Badge effectively gates the entire headline reward track, which is why veteran DDS players treat the badge grind as the priority and the token farm as a secondary objective.
Why the Badge Beats Raw Token Farming
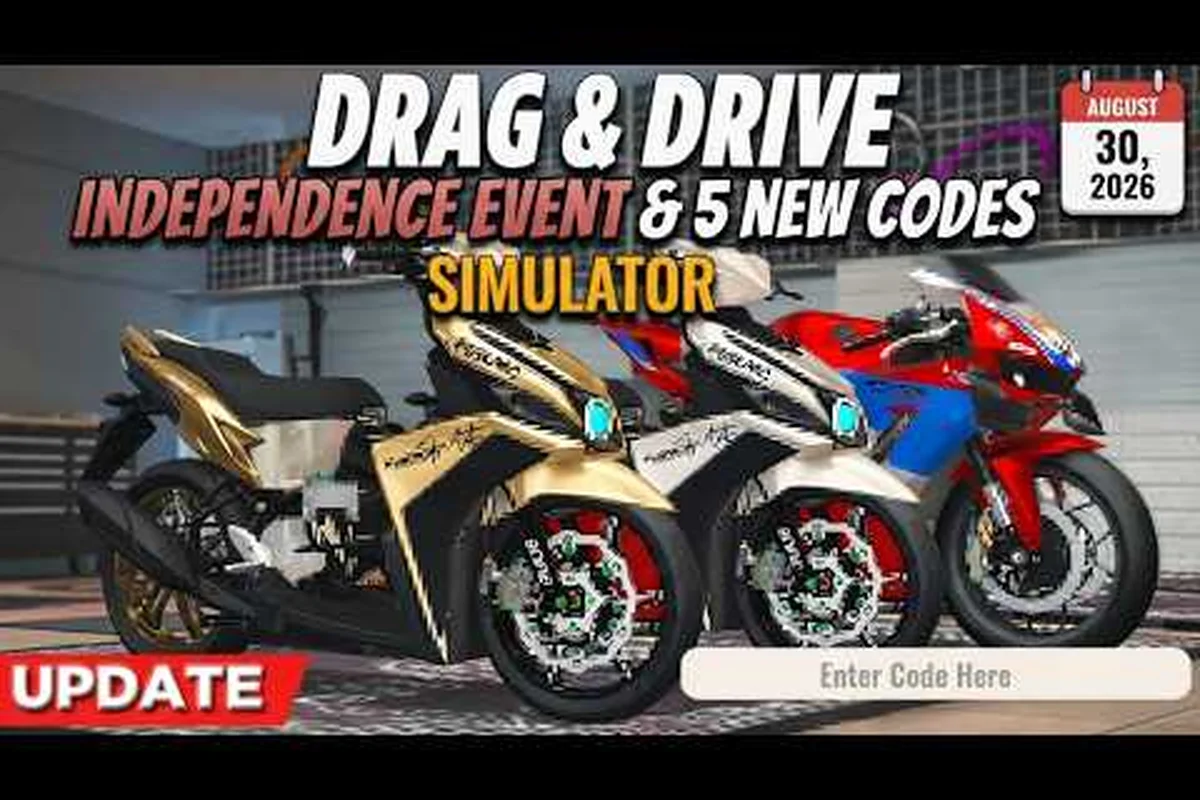
A common newbie mistake is to grind tokens first and quests second, because tokens feel like direct currency. The math actually flips that: the Crown Badge boosts your crate pull rate so heavily that every token you spend afterward is worth more, so chasing the badge first always pays off. Community testing posted in the ROBLOX: Drag Drive Simulator - INDEPENDENCE EVENT & 5 NEW CODES walkthrough shows players who hit Gold Badge by day four pulled roughly twice as many Anomaly Crates per 1,000 tokens compared to players who skipped the badge track entirely.
The Three Drag Drive Simulator Event Endings Explained
Most seasonal events in DDS have three Drag Drive Simulator event endings, and each one rewards a different finale drop. The branching happens during the boss encounter: your performance during the three-phase fight determines which ending you get, and each ending carries a unique cosmetic title plus a specific vehicle skin. Players who only need the headline cosmetic often do not realize the boss has three outcomes, so they end up grinding the same finale over and over without seeing the alternate drops.
| Ending | Trigger | Reward | Drop Rarity |
|---|---|---|---|
| A — Rally Victor | Beat boss under 3:00 | Crown of Merdeka (title) + Rally Livery | Mythic |
| B — Endurance Pilot | Beat boss between 3:00 and 5:00 | Anomaly Engine Cover + Endurance Wrap | Legendary |
| C — Survivor | Beat boss over 5:00 or with full HP loss | Survivor Plate Frame + Event Badge Replica | Rare |
Ending A — Rally Victor (Speed Clear)
Rally Victor is the speed-clear ending. The benchmark is finishing the three-phase boss encounter in under three minutes, which is only realistic with a top-tier vehicle and a coordinated crew. The headline drop is the Crown of Merdeka title, the seasonal status symbol that every veteran wants. Players who hit this ending also unlock the Rally Livery for their drag car, which is the rarest cosmetic skin in the event pool.
Ending B — Endurance Pilot (Mid-Tier Clear)
Endurance Pilot is the mid-tier ending and the one most solo players end up with. Finishing the boss between three and five minutes nets the Anomaly Engine Cover plus the Endurance Wrap. The engine cover is a high-tier cosmetic that fits any drag car, while the Endurance Wrap is a body kit that can be applied to motorcycles. Solo players who cannot find a crew for the speed run should aim for this ending because it still unlocks a strong cosmetic set.
Ending C — Survivor (Last-Stand Clear)
Survivor is the fallback ending. Triggering it means you either took longer than five minutes to clear the boss, or your vehicle took heavy damage during the fight. The reward pool is smaller (a Survivor Plate Frame plus an Event Badge Replica), but the ending is reliable and never fails to drop, which makes it a safe target for first-time runners who just want to bank any finale loot. A complete Drag Drive Simulator event ending guide should always plan for Ending B as the realistic target, then push for Ending A if a crew is available.
Survivor is also the ending most first-time runners will actually land on, so pairing it with the Drag Drive Simulator event guide makes it easier to map your run against the wider seasonal calendar — Independence, Ramadan, and Halloween each reuse the same Survivor → Boss-Clear → Last-Stand three-ending finale structure, and a quick check of that guide before you queue up tells you whether the current rotation is worth pushing for Ending A or simply banking Ending C rewards.
The Drag Drive Simulator Event Boss and Finale Mechanics
The Drag Drive Simulator event boss is a multi-phase encounter that scales with your crew size and vehicle tier. Solo players face a stripped-down version with weaker phase thresholds, while full five-person crews unlock the hardest phase and the best drop pool. Understanding the phase mechanics is the difference between hitting Ending A and falling into Ending C, which is why most endgame players run the boss at least three times per event to optimize their clear.
| Phase | Boss Action | Player Counter | Duration |
|---|---|---|---|
| Phase 1 — Sprint Gate | Boss sprints to checkpoint, drops oil trail | Boost through, avoid rear-end | 60s |
| Phase 2 — Drag Strip | Boss opens a head-to-head drag race | Tune your car, win the strip | 90s |
| Phase 3 — Anomaly Storm | Boss spawns anomaly drones, AoE damage | Crew spread, focus fire | 60-120s |
Phase 1 — Sprint Gate
The Sprint Gate is the opener. The boss AI sprints to a checkpoint, leaving a damaging oil trail behind it. Players who boost directly through the trail take heavy frame damage, which counts against your clear time. The correct counter is to swing wide around the trail, sacrifice a second of pace, and keep your vehicle intact. Solo players who lose too much HP here are locked out of Ending A before Phase 2 even starts.
Phase 2 — Drag Strip
The Drag Strip is a head-to-head race against the boss. Your vehicle's power-to-weight ratio and tune tier determine the outcome, not your driving skill. The boss has a fixed power curve per event, so swapping to a higher-tier drag car (anything in the Supercar or Hypercar bracket) is the cleanest counter. Players who clear this phase in under 90 seconds preserve enough HP and time to push for Ending A.
Phase 3 — Anomaly Storm
Anomaly Storm is the final phase and the one that decides the ending. The boss spawns anomaly drones that deal AoE damage if the crew stacks up. Coordinated crews spread out, focus fire one drone at a time, and clear the phase in 60 to 90 seconds. Solo players take longer because they cannot split the aggro, which is the main reason solo clears drift into Ending B or C. Players aiming for Ending A need a full crew of five for this phase.
For the full quest sequence, vehicle recommendations, and crew comps, our Drag Drive Simulator event boss guide walks through the layered Anomaly Storm encounter in detail — including the optimal split positioning that keeps the anomaly drones from chaining AoE into a wipe, and which vehicle loadouts sustain enough burst to bring each drone down inside the 15-second enrage window before the next spawn forces a reset of the aggro cycle.
Strategy, Stacking, and Token Efficiency
Maximizing Drag Drive Simulator event rewards comes down to three habits: badge-first grinding, crew-based boss runs, and disciplined token spending. The badge track gates the crate rate, the boss run unlocks the headline loot, and disciplined token spending prevents you from burning your bank on early crate rolls before the drop rate is boosted. Players who follow this loop end every event with the full reward set, while players who skip any of the three pieces usually miss at least one headline cosmetic.
| Priority | Action | Token Cost | Payoff |
|---|---|---|---|
| 1 | Hit Gold Badge by day 4 | Passive (quest rewards) | +10% crate rate |
| 2 | Bank 10,000 tokens for Finale Ticket | None (saved) | Unlocks boss |
| 3 | Run boss with full crew | 0 (ticket spent) | Ending A or B |
| 4 | Spend remaining tokens at vendor | Variable | Anomaly Crates |
| 5 | Save leftover tokens for next event crossover | Variable | Carry-over bonus |
Badge-First Token Allocation
The first rule is to never spend tokens on the vendor's crate lottery until you have at least the Gold Badge because the drop rate jumps meaningfully at that threshold. Players who dump their first 1,000 tokens into the crate before hitting Silver are effectively gambling at base odds, which the community data says is roughly 8% per roll. Hitting Gold first brings that to about 18%, so the same 1,000 tokens go twice as far once the badge is banked.
Crew Composition for Ending A
The second rule is that Ending A is essentially gated on crew play. Solo players can clear the boss, but they almost never break the three-minute threshold because Anomaly Storm takes too long without aggro split. A balanced five-person crew needs at least two Hypercar drivers for Phase 2, one tank-class vehicle to absorb drone aggro in Phase 3, and two flex drivers who can switch between racing and combat roles. Players who run the same crew three to four times per event almost always lock in Ending A on the second or third clear.
Token Carry-Over and Event Crossover
The third rule is to leave a token reserve rather than blow everything on the final day. Some DDS events, like the Independence-to-Halloween crossover, allow a small percentage of tokens to roll over into the next event's vendor pool. The carry-over is small (10-15% based on community testing) but it stacks with the next event's badge track, which means disciplined players who bank leftover tokens end up ahead of the curve when the next event opens.
Players who want a broader sense of the daily login and passive RP flow that supports this loop can check our Drag Drive Simulator passive income breakdown. That guide maps the typical hourly passive income curve per car tier, which directly affects how fast you can bank the token reserve mentioned above without dipping into active grind sessions during the event window. Cross-referencing the two helps you decide whether to spend tokens on the final-day event boss bundle or save them for the badge track in the next crossover, since leftover RP compounds into the carry-over pool we discussed.
Frequently Asked Questions
What is the fastest way to farm Drag Drive Simulator event rewards?
Focus on daily event quests first to climb the Badge Track to Gold, then bank tokens instead of spending them. Once Gold is unlocked, the vendor's crate drop rate roughly doubles, so every token you spend afterward pulls twice as much loot. Most players hit Gold by day four of a standard event.
How do the Drag Drive Simulator event endings actually unlock?
The three endings are determined by your final clear time and HP on the event boss. Under three minutes unlocks Rally Victor, three to five minutes unlocks Endurance Pilot, and anything slower or with heavy HP loss drops to Survivor. Crew play is the main lever for hitting the faster endings.
Where does the Drag Drive Simulator event badge come from?
Badges are awarded automatically when you hit specific quest and token milestones. The five tiers are Bronze, Silver, Gold, Platinum, and Crown, each tied to a quest count and a token threshold. Crown Badge is what unlocks the Finale Ticket, which gates the boss encounter.
Can you re-fight the Drag Drive Simulator final boss?
Yes, but only one Finale Ticket drops per event, so the fight is one-per-account unless you buy a replacement ticket from the event vendor with leftover tokens. Most players run the boss once on a test vehicle to learn the phases, then once more with their tuned crew to lock in the better ending.
What is the rarest Drag Drive Simulator event reward drop?
The Halo Cosmetic is the rarest drop, with a community-reported pull rate under 1% from the finale flawless clear. It is a body kit that can be applied across vehicle classes, and it is the cosmetic that veteran players showcase most in trade windows and profile flair. Most events only see a handful of Halo drops across the entire player base, which is why it carries serious trading value.